Ad Configurations - Step-by-Step UI Walkthrough
Detailed click-by-click guide to every field and section in the Ad Configurations interface.
This guide walks through every element of the Ad Configurations interface in exact order. Use this as a reference when setting up or troubleshooting configurations.
Opening Ad Configurations
Path: Paid Social Ads → Organize → Ads Configuration
Alternative: Click the gear icon next to your workspace selector
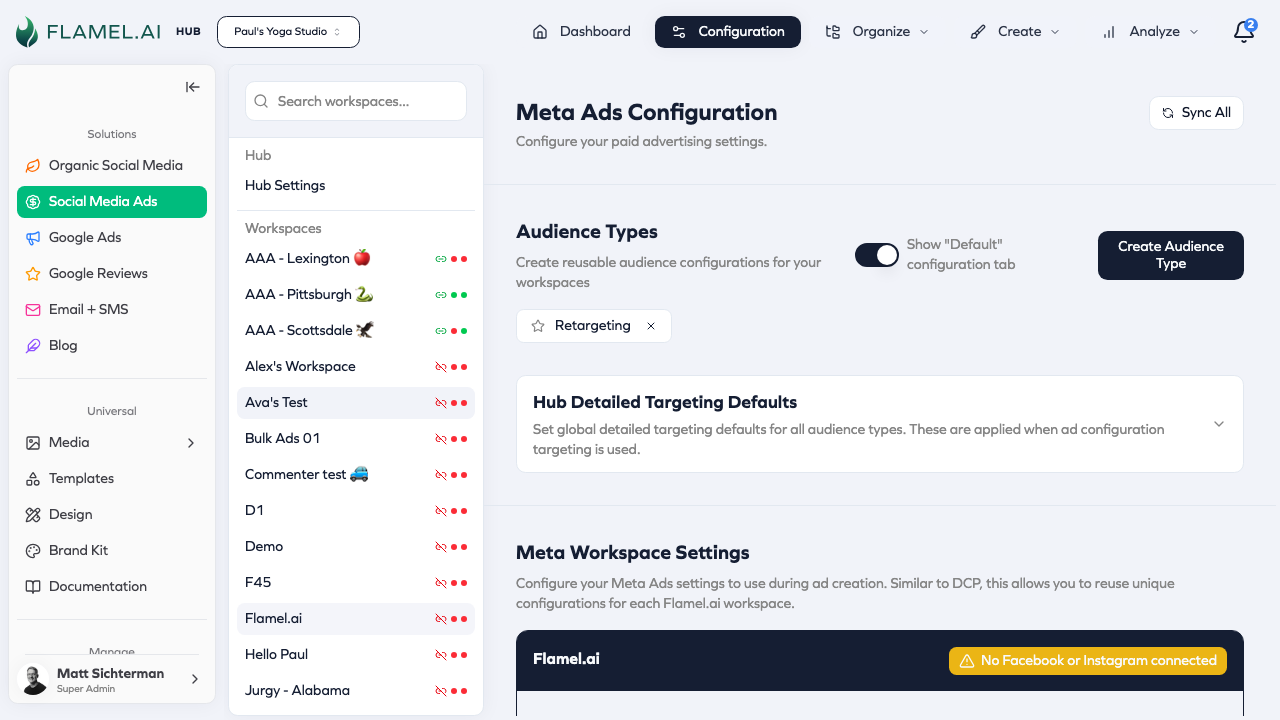
Page Layout Overview
When the page loads, you'll see:
┌─────────────────────────────────────────────────────────────────────┐
│  [Team Header Card]                                                  │
│  Team Name                              [Facebook Account] [IG]      │
│  Meta Ad Account ID: act_123456789                                   │
├─────────────────────────────────────────────────────────────────────┤
│  [Tab Bar - Sticky]                                                  │
│  ● Default  │  ● Database  │  ● Mass  │  + Add Audience Type        │
├─────────────────────────────────────────────────────────────────────┤
│                                          [Import from ad set...]     │
│  ┌─────────────────────────────────────────────────────────────┐    │
│  │ Demographics                                                  │    │
│  │ ───────────────────────────────────────────────────────────  │    │
│  │ Age Min [18▼]  Age Max [65▼]   Gender: ☐ Male  ☐ Female     │    │
│  └─────────────────────────────────────────────────────────────┘    │
│                                                                      │
│  ▼ Custom Audiences                                    [Collapse]    │
│  ▼ Languages                                           [Collapse]    │
│  ▼ Advanced & Detailed Targeting                       [Collapse]    │
│  ▼ Custom Locations                                    [Collapse]    │
│  ▼ Cities                                              [Collapse]    │
│  ▼ Zip Codes                                           [Collapse]    │
│  ▼ Countries                                           [Collapse]    │
└─────────────────────────────────────────────────────────────────────┘
Team Header Card
At the top of the page:
| Element | Description |
|---|---|
| Team Name | Your workspace or hub name (large, bold text) |
| Meta Ad Account ID | Your connected ad account (e.g., act_123456789) |
| Facebook Account | Profile picture and name of connected Facebook account |
| Instagram Account | Profile picture and name of connected Instagram account |
If neither Facebook nor Instagram is connected, you'll see a warning badge. Connect accounts in Accounts → Meta before configuring ads.
Tab Navigation
Tab Bar
The sticky tab bar at the top shows all configuration tabs:
| Tab | Purpose | Status Indicator |
|---|---|---|
| Default | Baseline targeting for all campaigns | 🟢 Green = location configured |
| [Audience Type] | Override targeting for that segment | 🔴 Red = no location |
| + Add | Create new audience type (Hub only) | — |
Status Indicators
- 🟢 Green dot — This tab has location targeting configured
- 🔴 Red dot — This tab is missing location targeting
Campaigns require location targeting to deploy. A red dot means campaigns using this configuration may fail.
Switching Tabs
- Click any tab name to switch
- Content below updates to show that tab's configuration
- Changes save automatically as you edit
Import from Ad Set Button
Location: Top-right corner of content area
Purpose: Copy targeting from an existing Meta ad set into this configuration
Steps:
- Click "Import from ad set..."
- Dialog opens with searchable list of your ad sets
- Select an ad set
- Configuration fields populate with that ad set's targeting
- Review and adjust as needed
Section 1: Demographics
Location: Top section, always visible (not collapsible)
Age Range
| Field | Type | Range | Default |
|---|---|---|---|
| Age Min | Number dropdown | 13-65 | 18 |
| Age Max | Number dropdown | 13-65 | 65 |
To set age range:
- Click the Age Min dropdown
- Select minimum age (e.g., 25)
- Click the Age Max dropdown
- Select maximum age (e.g., 54)
Start broader (18-65) and narrow based on performance data. Over-targeting limits reach and increases costs.
Gender
| Option | What It Targets |
|---|---|
| ☐ Male | Men only |
| ☐ Female | Women only |
| ☐ Both unchecked | All genders (recommended default) |
| ☑ Both checked | Same as all genders |
To set gender:
- Check Male to target men
- Check Female to target women
- Leave both unchecked to target all genders
Empty state text: "No genders selected (targets all)"
Section 2: Custom Audiences
Collapse/Expand: Click the section header or chevron icon
Description text: "Configure included and excluded Meta audiences for targeting."
Layout
Two-column grid:
- Left column: Included audiences (people to target)
- Right column: Excluded audiences (people to avoid)
Left Column: Custom Audiences
Header: "Custom Audiences"
Description: "Meta audiences targeting this ad set."
Empty state: "No custom audiences"
To add an audience:
- Click in the search/add area at the bottom
- Type to search available audiences
- Click an audience to add it
- Audience appears as a chip/tag
Audience chip displays:
- Audience name
- X button (remove)
- → button (move to excluded)
To remove an audience:
- Find the audience chip
- Click the X button
To move to excluded:
- Find the audience chip
- Click the → (arrow right) button
- Audience moves to the right column
Right Column: Excluded Custom Audiences
Header: "Excluded Custom Audiences"
Description: "Meta audiences excluded from targeting this ad set."
Empty state: "No excluded audiences"
Visual difference: Excluded audiences have a red-tinted border
To add an excluded audience:
- Click the search/add area in the right column
- Search and select the audience
- Audience appears with red border styling
To move back to included:
- Find the excluded audience chip
- Click the ← (arrow left) button
- Audience moves to the left column
Syncing Audiences from Meta
If you don't see expected audiences:
- Click "Sync Audiences" button (if available)
- Wait for sync to complete
- Search again for your audience
Section 3: Languages
Collapse/Expand: Click the section header
Description text: "Languages and locales targeted for this audience type."
Layout
Single column with locale chips
Header: "Locales"
Description: "Languages targeting this ad set."
Empty state: "No locales selected"
Adding Locales
- Click "Add Locale" search field
- Type a language name (e.g., "English", "Spanish")
- Select from autocomplete results
- Locale appears as a chip
Locale Chip
- Shows locale name (e.g., "English (US)")
- X button to remove
Removing Locales
- Find the locale chip
- Click the X button
Leave this empty to target all languages. Add locales only if your ad creative is language-specific.
Section 4: Advanced & Detailed Targeting
Collapse/Expand: Click the section header
Description text: "Configure Advantage+ and detailed targeting for this audience configuration."
Subsection A: Advanced Targeting Options
Four toggle switches in a vertical list:
1. Advantage+ Audience
| Element | Value |
|---|---|
| Label | Advantage+ Audience |
| Description | Let Meta's AI expand targeting beyond your selections |
| Type | Toggle switch (on/off) |
| Default | Off |
When enabled:
- Blue info box appears below
- Text: "Maximum age is locked to 65 when Advantage+ Audience is enabled. Your age min and age max values above will be used as suggestions automatically."
2. Advantage+ Detailed Targeting
| Element | Value |
|---|---|
| Label | Advantage+ Detailed Targeting |
| Description | Expand beyond detailed targeting (interests, behaviors, demographics) |
| Type | Toggle switch |
| Default | Off |
3. Advantage+ Lookalike
| Element | Value |
|---|---|
| Label | Advantage+ Lookalike |
| Description | Expand beyond lookalike audiences to find similar high-value customers |
| Type | Toggle switch |
| Default | Off |
4. Advantage+ Custom Audience
| Element | Value |
|---|---|
| Label | Advantage+ Custom Audience |
| Description | Expand beyond custom audiences when Meta predicts better performance |
| Type | Toggle switch |
| Default | Off |
Subsection B: Detailed Targeting
Below the toggles, additional targeting fields for:
| Category | Examples |
|---|---|
| Interests | Fitness, Travel, Technology |
| Behaviors | Online shoppers, Frequent travelers |
| Life Events | Recently moved, New job |
| Industries | Healthcare, Finance |
| Income | Top 10%, Top 25% (US only) |
| Family Status | Parents, Newlyweds |
| Education | College grad, High school |
| Employers | Target by employer name |
| Job Titles | Target by position |
To add detailed targeting:
- Find the category section
- Click the search/add field
- Type to search (e.g., "yoga" for interests)
- Select from results
- Item appears as a chip
Section 5: Custom Locations
Collapse/Expand: Click the section header
Description text: "Custom locations that will be targeted or excluded."
Layout
Two-column grid:
- Left: Included locations
- Right: Excluded locations
Left Column: Custom Locations
Header: "Custom Locations"
Description: "Select custom locations that will be targeted for this workspace's ad sets."
Empty state: "No custom locations selected"
Adding a Custom Location
- Click the "Add Custom Location" input area
- Enter location one of two ways:
Option A: Address
- Type an address (e.g., "123 Main St, Denver, CO")
- Autocomplete suggests matches
- Select the correct address
Option B: Coordinates
- Enter latitude and longitude (e.g., "39.7392, -104.9903")
-
Set the radius (optional):
- Enter number in miles (default: 10)
- Range: 1-50 miles
-
Click Add or press Enter
Location Chip Display
Each location chip shows:
- Address or "lat, long" format
- Radius badge (e.g., "10 mi")
- X button (remove)
- → button (move to excluded)
Right Column: Excluded Custom Locations
Header: "Excluded Custom Locations"
Description: "Select custom locations that will be excluded for this workspace's ad sets."
Same functionality as included, but with red-tinted border styling.
Section 6: Cities
Collapse/Expand: Click the section header
Description text: "Cities that will be targeted or excluded."
Layout
Two-column grid (included / excluded)
Adding Cities
- Click "Add Cities" search field
- Type city name (e.g., "Denver")
- Select from autocomplete results showing "City, Region"
- Optionally set radius for the city
- City appears as a chip
City Chip Display
- Format: "City, Region" (e.g., "Denver, Colorado")
- Radius badge if set
- Remove and move buttons
Moving Between Included/Excluded
Same as Custom Audiences—use arrow buttons.
Section 7: Zip Codes
Collapse/Expand: Click the section header
Description text: "Zip codes that will be targeted or excluded."
Layout
Two-column grid (included / excluded)
Adding Zip Codes
- Click "Add Zips" search field
- Type zip code (e.g., "80202")
- Select from autocomplete showing "Zip (City, Region, Country)"
- Zip appears as a chip
Zip Chip Display
- Format: "80202 (Denver, Colorado, US)"
- Remove and move buttons
Section 8: Countries
Collapse/Expand: Click the section header
Description text: "Countries that will be targeted or excluded."
Layout
Two-column grid (included / excluded)
Adding Countries
- Click "Add Countries" search field
- Type country name (e.g., "United States")
- Select from autocomplete
- Country appears as a chip
Country Chip Display
- Country name
- Remove and move buttons
Creating Audience Types (Hub Only)
Step 1: Click Add Button
- In the tab bar, click "+" or "Add Audience Type"
Step 2: Enter Details
| Field | Required | Description |
|---|---|---|
| Name | Yes | Short name (e.g., "Database", "VIP") |
| Description | No | When to use this type |
Step 3: Save
- Click Save or Create
- New tab appears in tab bar
- Tab starts with red dot (no configuration yet)
Step 4: Configure
- Click the new tab
- Fill in sections as described above
- At minimum, add location targeting to get green dot
Audience Type Tab Differences
Audience type tabs have the same sections as Default, plus:
Source Ad Set Info
If imported from an existing ad set:
- Shows source ad set name below tab title
- Indicates where targeting came from
Inheritance from Default
Empty fields inherit from Default tab:
- If "Database" has no CTA, uses Default's CTA
- Explicitly set fields override Default
Saving Changes
All changes save automatically as you edit.
- No "Save" button needed
- Changes apply immediately
- No confirmation dialog
Configuration changes only apply to new campaigns. Existing campaigns keep their original settings.
Common Tasks Quick Reference
Add a targeting radius around your business
- Go to Default tab
- Expand Custom Locations
- Enter your business address
- Set radius (10-25 miles typical)
- Done—green dot should appear
Exclude existing customers from acquisition campaigns
- Go to the audience type tab for acquisition (e.g., "Mass")
- Expand Custom Audiences
- In Excluded column, search for your customer list
- Select to add as exclusion
Enable Meta's AI targeting
- Go to desired tab
- Expand Advanced & Detailed Targeting
- Toggle Advantage+ Audience to ON
- Review the info message about age limits
Copy targeting from an existing campaign
- Click "Import from ad set..." button
- Search for the ad set
- Select it
- Fields populate with that ad set's targeting
Troubleshooting
Red dot won't turn green
Cause: No location targeting configured
Fix: Add at least one of:
- Custom location with radius
- City
- Zip code
- Country
Can't find my custom audience
Cause: Audiences not synced from Meta
Fix:
- Click "Sync Audiences"
- Wait for sync
- Search again
Changes not showing in campaigns
Cause: Config changes only apply to new campaigns
Fix: Create a new campaign or opt into a new playbook
Next Steps
- Hub Setup Guide — Strategic guidance for Hub users
- Workspace Guide — Customization guidance for workspaces
- Creating Playbooks — Use your configurations in playbooks