Workspace Configuration Guide
Workspace users: customize your local ad targeting within Hub-defined limits.
As a workspace user, your Hub has already set up audience types and default targeting for your brand. This guide shows you how to customize your local configuration to match your market while staying within brand guidelines.
What You Can Customize
Your Hub controls the overall advertising strategy, but you can customize certain settings for your local market:
| Setting | Can You Customize? | Notes |
|---|---|---|
| Location radius | ✅ Yes | Adjust 1-50 miles from your location |
| Custom audiences | ✅ Yes | Add your local audiences |
| Interests | ✅ Yes | Add local interests |
| Website URL | ✅ Yes | Your local landing page |
| Lead form | ✅ Yes | Your location's form |
| Age/Gender | ⚠️ Limited | Within Hub-defined ranges |
| Create audience types | ❌ No | Hub only |
| Delete audience types | ❌ No | Hub only |
Accessing Your Configuration
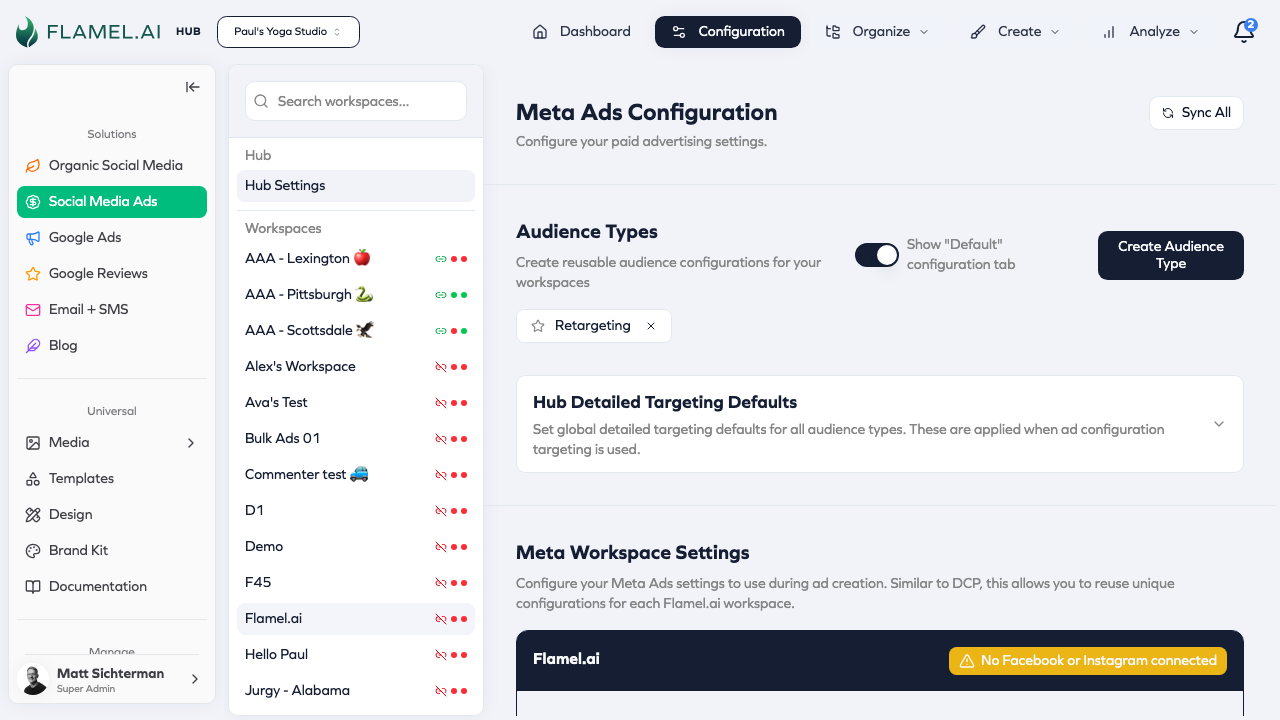
- Navigate to Organize → Ads Configuration in the Paid Social Ads module
- You'll see tabs for Default and any audience types your Hub created
Understanding the Tab Structure
Default Tab
Your baseline configuration that applies to all campaigns unless overridden:
- Demographics — Age range, gender
- Locations — Your location's targeting radius
- CTA — Your website URL and landing pages
- Lead forms — Your location's forms
Audience Type Tabs
Each tab (like "Database" or "Mass") can have different targeting:
- Settings here override the Default for that audience type
- Empty fields inherit from Default
- Your Hub defines what audience types exist
Essential Setup: Location Targeting
The most important configuration for your local market is location targeting.
Custom Locations (Recommended)
Target a radius around your business:
- Open the Custom Locations section
- Enter your business address or coordinates
- Set your radius (typically 10-25 miles)
| Market Type | Suggested Radius |
|---|---|
| Dense urban | 5-10 miles |
| Suburban | 15-25 miles |
| Rural | 25-50 miles |
Status Indicator
Each tab shows a status indicator:
- 🟢 Green — Location is configured
- 🔴 Red — Location needs setup
Campaigns cannot deploy without location targeting. Make sure at least one location is configured.
Customizing Your Default Configuration
CTA Settings
Set up where ad clicks send customers:
| Field | What to Enter |
|---|---|
| Website URL | Your location's landing page (e.g., https://yourbrand.com/locations/denver) |
| Display URL | Shortened display (e.g., yourbrand.com/denver) |
Lead Form Setup
For lead generation campaigns:
- Create your lead form in Meta Ads Manager (or use Hub-provided form)
- Click "Sync Forms" in Flamel to import it
- Select your form in the Lead Gen Form ID field
Your lead form should:
- Reference your specific location
- Include your phone number/address in the thank-you screen
- Route leads to your location's CRM/inbox
Demographics (If Allowed)
If your Hub permits, you can adjust:
- Age range — Narrow for your local customer base
- Gender — If your location serves a specific demographic
Demographics set here become the default for all your campaigns. Only change if your local market genuinely differs from the network average.
Working with Custom Audiences
Custom audiences let you target specific groups of people.
Syncing Audiences from Meta
- Click "Sync Audiences" to pull audiences from your Meta ad account
- Wait for sync to complete (usually a few seconds)
- Your available audiences now appear in the selector
Adding Audiences to Your Configuration
To include an audience:
- Open the Custom Audiences section
- Click "Add Audience"
- Search for and select the audience
- The audience is now part of your targeting
To exclude an audience:
- Open the Excluded Custom Audiences section
- Add audiences you want to exclude
- These people won't see your ads
Common Audience Setup Patterns
For "Database" audience type:
- Include: Your customer list audience
- Exclude: None (you want to reach all customers)
For "Mass" acquisition:
- Include: None (target everyone)
- Exclude: Your customer list (don't pay to reach existing customers)
For "Retargeting":
- Include: Website visitors, video viewers
- Exclude: Recent converters (avoid over-targeting)
Audience Type Configuration
Each audience type tab can have unique targeting. Your Hub created these for specific purposes.
When to Customize Audience Types
Do customize:
- Add your local custom audiences
- Adjust interests for your market
- Set up your location's lead forms
Don't customize:
- Core demographics (unless Hub permits)
- Targeting strategy (the Hub defined this intentionally)
Inheriting from Default
Empty fields in an audience type tab inherit from Default:
"Database" tab: Website URL is empty
                        ↓
Falls back to Default tab's Website URL
This means you usually only need to configure the Default tab's CTA settings once.
Advanced Targeting (If Available)
Your Hub may allow additional targeting customization:
Interests
Add local interests relevant to your market:
- Local sports teams
- Regional activities
- Local businesses your customers frequent
Languages
If your market has multiple languages:
- Add relevant language locales
- Meta shows ads to users matching those language settings
Validating Your Configuration
Check Configuration Status
Look for status indicators on each tab:
- 🟢 Green = Ready to use
- 🔴 Red = Missing required fields
Test Before Deploying
Before opting into a playbook:
- Verify your location is configured
- Check that your website URL is correct
- Confirm lead forms are synced (if applicable)
Validate Audiences
Click "Validate" to check if your audiences are still valid:
- Deleted Meta audiences are flagged
- Invalid references can be removed with "Cleanup"
Common Tasks
Changing Your Targeting Radius
- Go to Default tab
- Open Custom Locations
- Find your location entry
- Edit the radius value
- Changes save automatically
Updating Your Website URL
- Go to Default tab
- Find Call to Action Configuration
- Update Website URL field
- Changes apply to new campaigns (not existing ones)
Adding a New Local Audience
- First, sync audiences: Click "Sync Audiences"
- Go to the appropriate tab (Default or specific audience type)
- Open Custom Audiences
- Click "Add" and select your audience
Switching Lead Forms
- Create new form in Meta Ads Manager
- In Flamel, click "Sync Forms"
- Go to Default tab → Lead Capture
- Select new form in Lead Gen Form ID
Understanding Playbook Integration
When you opt into a playbook, your configuration determines targeting:
You opt into "Summer Sale" playbook
         ↓
Playbook uses "Database" audience type
         ↓
Flamel extracts YOUR "Database" configuration
         ↓
YOUR custom audiences + YOUR location = campaign targeting
This means:
- Same playbook across the network
- Your specific targeting applied
- Your customers, your radius, your forms
Troubleshooting
"My location isn't targeting correctly"
Check:
- Is a custom location configured?
- Is the radius appropriate for your market?
- Are coordinates accurate?
Fix:
- Go to Default tab → Custom Locations
- Verify or re-enter your location
- Test with a small campaign
"My audiences aren't showing"
Possible causes:
- Audiences haven't been synced from Meta
- Meta ad account permissions changed
Fix:
- Click "Sync Audiences"
- If still missing, check Meta Business Settings for audience sharing
"Lead form isn't available"
Possible causes:
- Form not synced from Meta
- Form created on different Facebook Page
Fix:
- Verify form exists in Meta Ads Manager
- Ensure form is on your Page (not Hub's Page)
- Click "Sync Forms" in Flamel
"Changes aren't affecting my campaign"
Important: Configuration changes only apply to new campaigns.
Existing campaigns keep their original settings. To apply new configuration:
- For playbooks: Cancel opt-in and re-opt
- For manual campaigns: Create a new campaign
Next Steps
- Opting Into Playbooks — Use your configuration in campaigns
- FAQ — Common questions answered
- Contact your Hub for questions about your specific setup